Create your first quiz
Go from a template to a published quiz on your store, with products chosen and a page of its own.
 Attravo TeamUpdated 3 min read
On this page
A quiz turns "which one is right for me?" into a few easy questions, then shows each shopper the products that fit their answers. This walks through a first quiz from a template to your store, in about ten minutes.
Start from a template
- On Home, select Create quiz. Create quiz at the top of the Quizzes page does the same.
- Under Start from a template, find the template closest to your store and select Use template. This example uses Skincare Routine Finder.
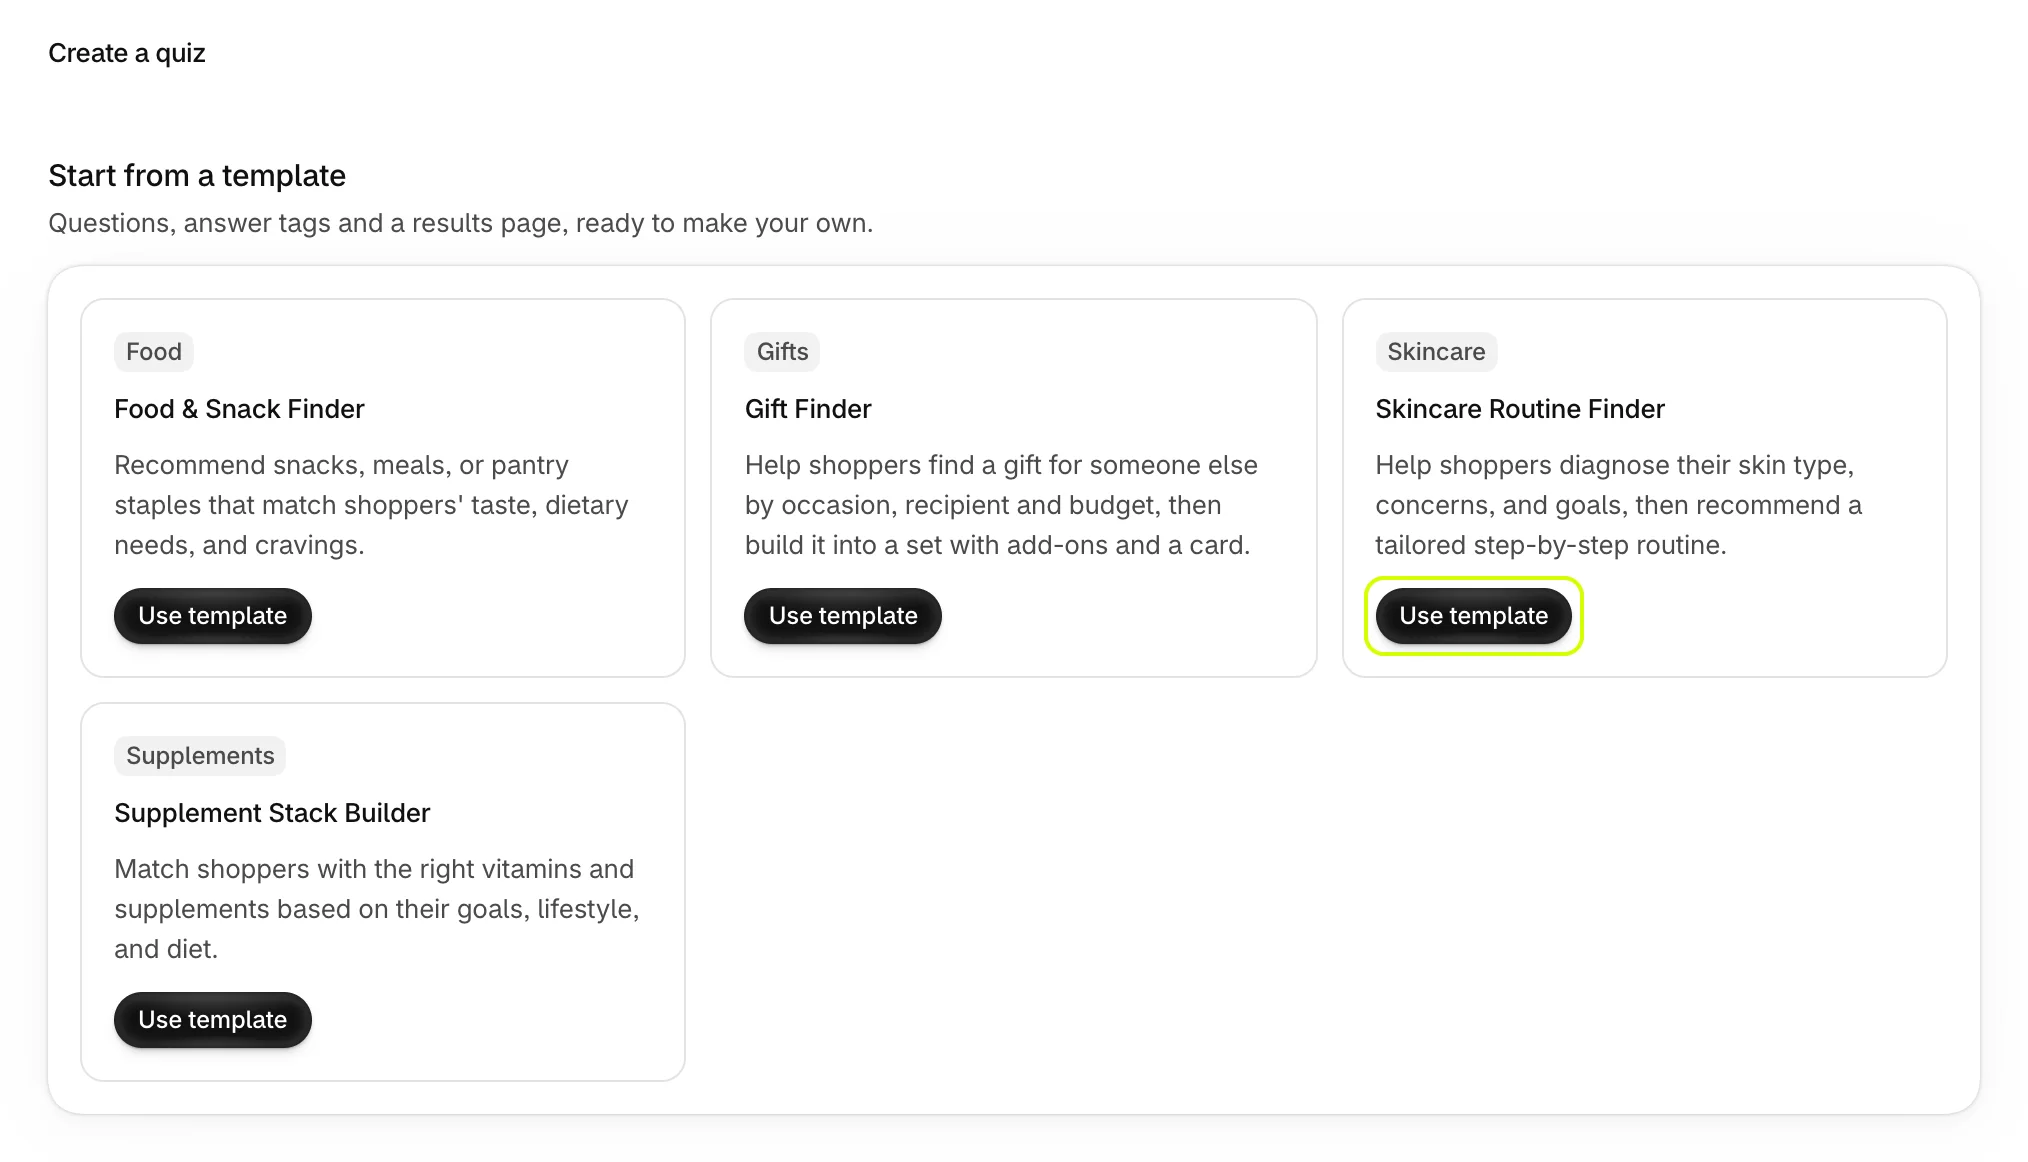
The quiz opens in the editor as a Draft, with its questions, answer tags and results page ready to change. Nobody sees it until you publish it.
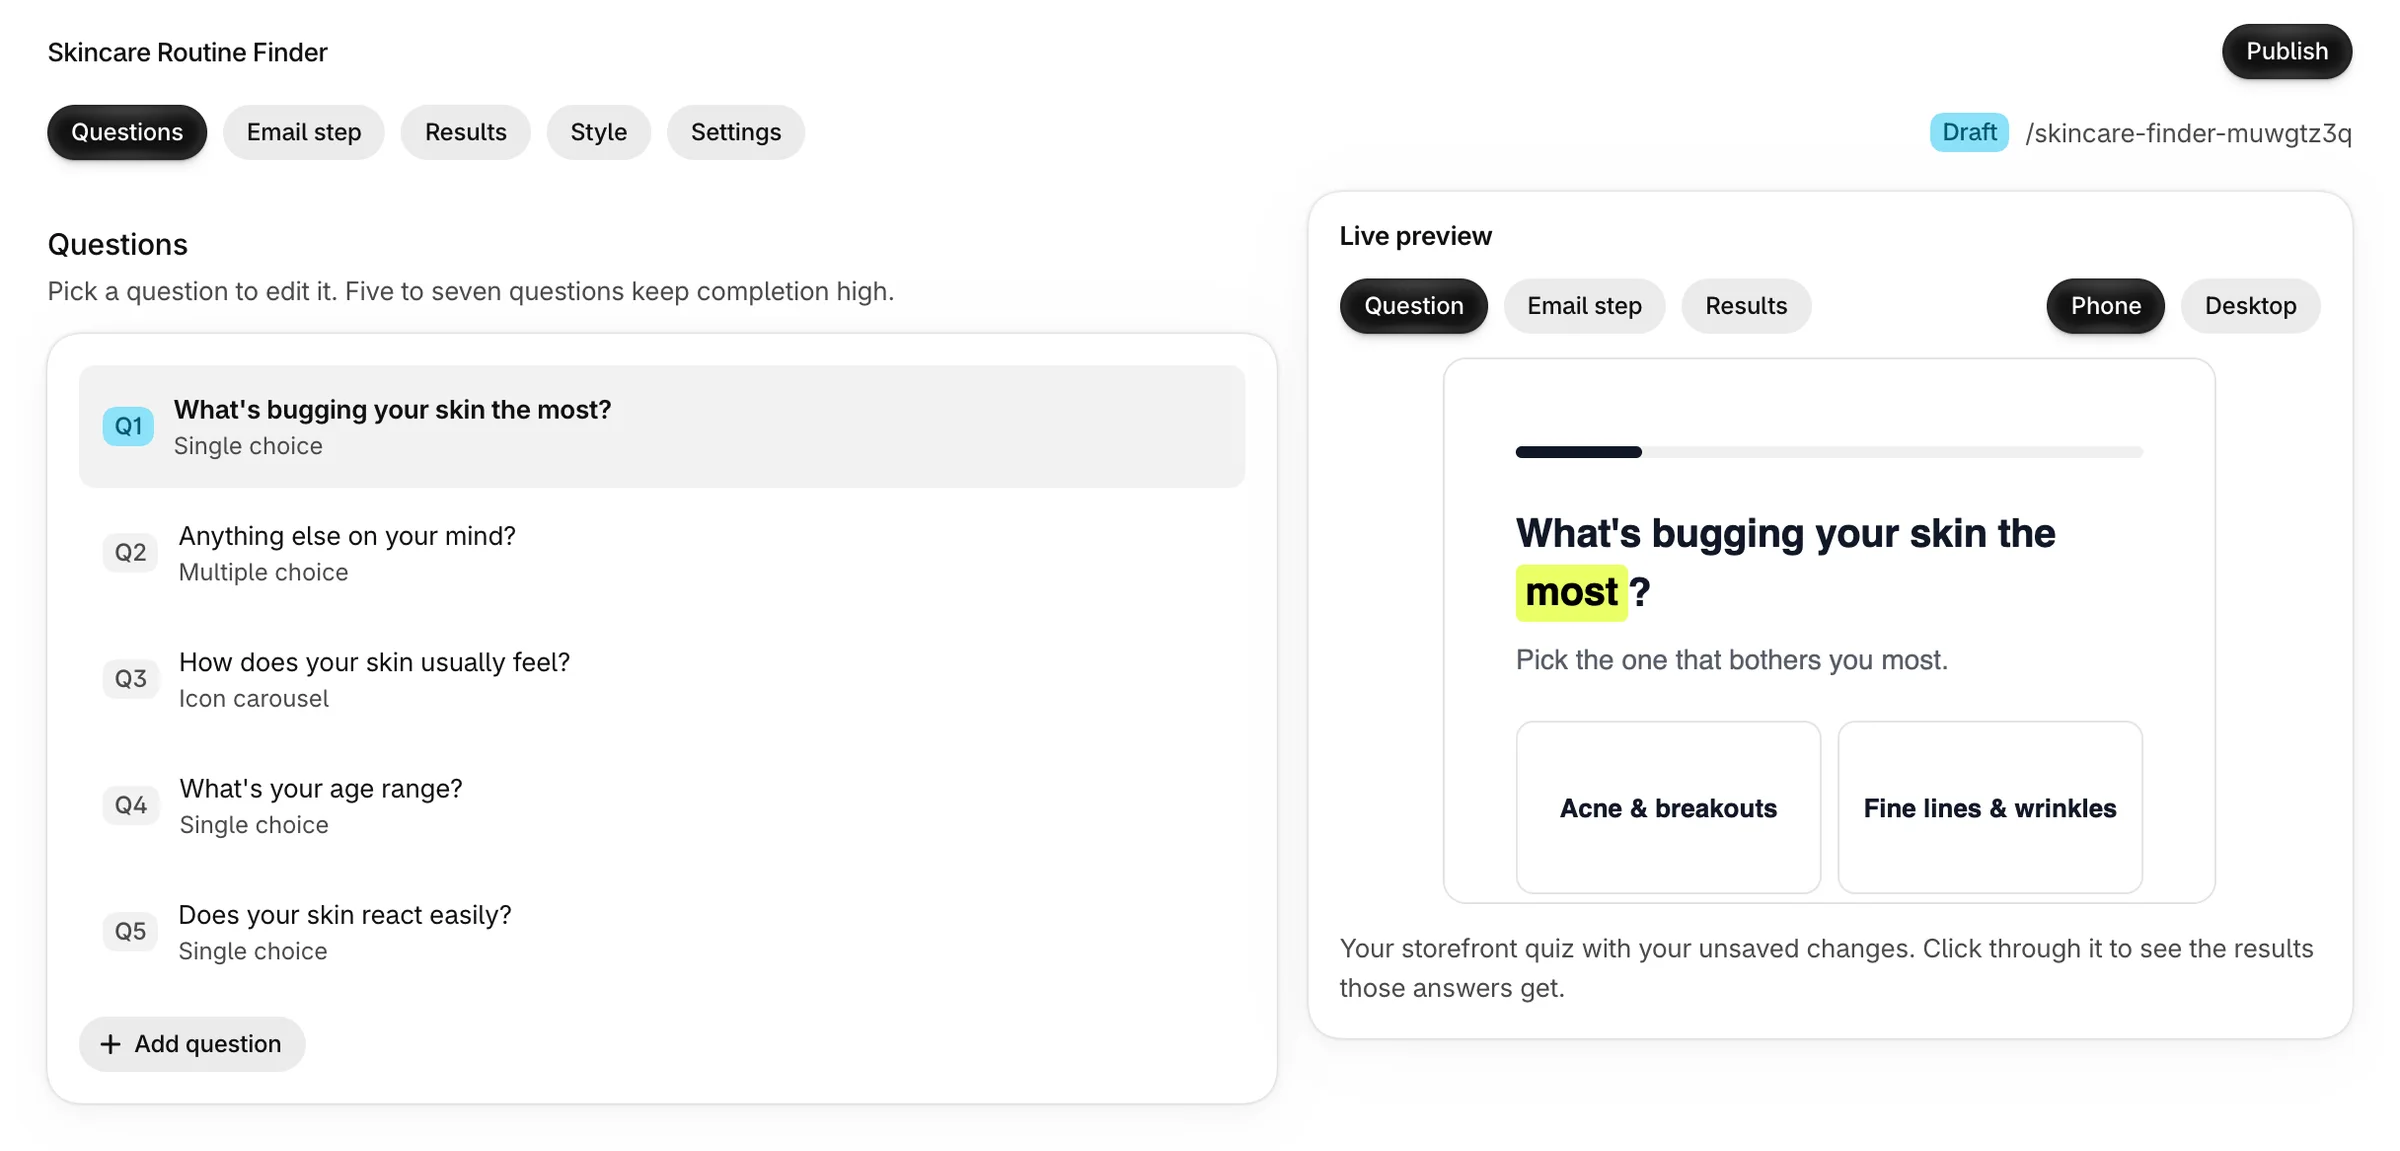
To write your own questions from the start instead, select Start blank. See Start from a template for what each template contains.
Choose what it recommends
Each answer carries tags, and the quiz recommends the products whose tags match the answers a shopper picks.
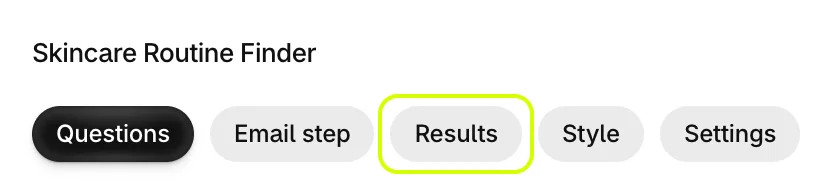
- Select Results.
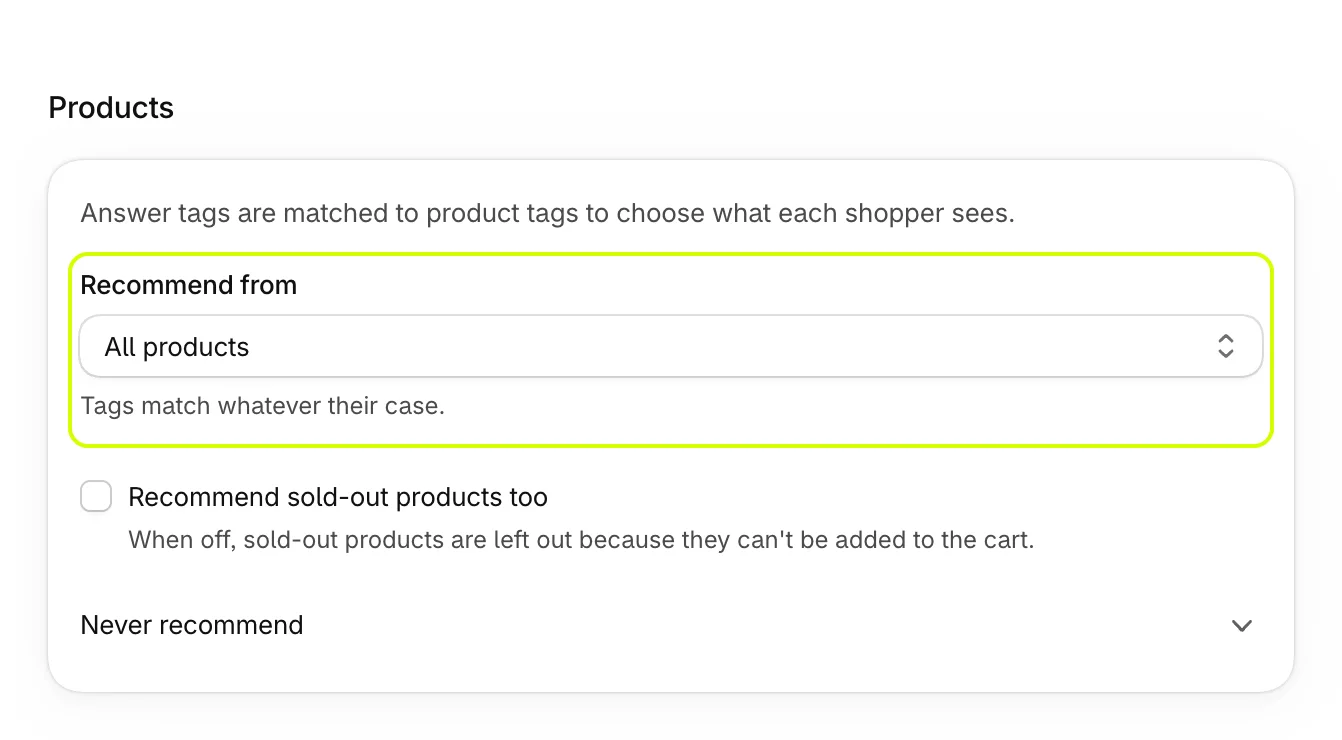
- Under Recommend from, keep All products, or choose Selected collections or Only products I pick to narrow the choice.
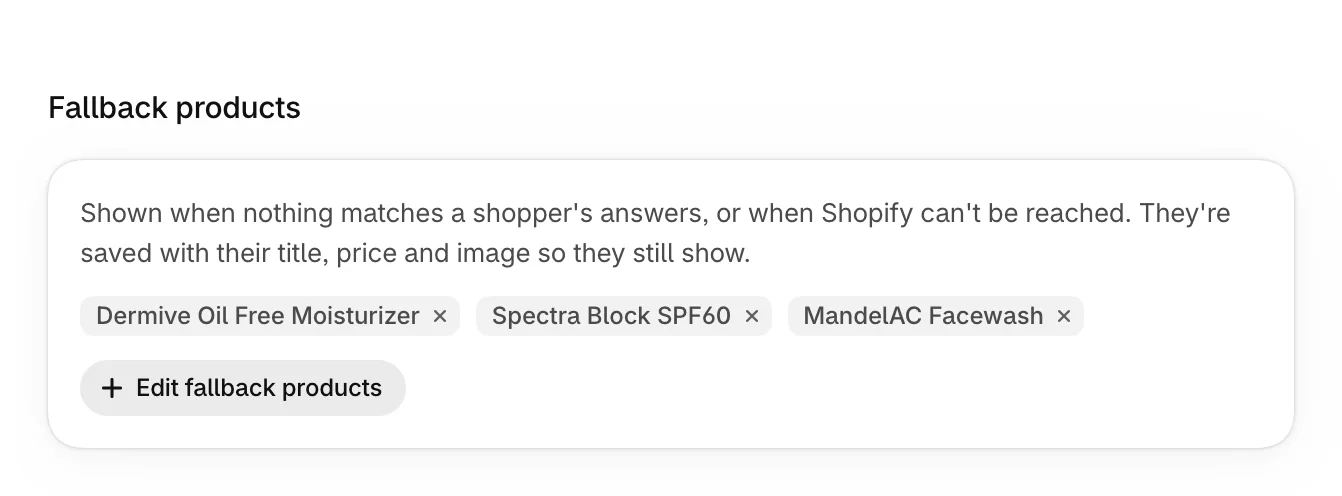
- Under Fallback products, select Pick fallback products, choose two or three best sellers in Shopify's product picker, then Select. They show when a shopper's answers match nothing.
- Select Save in the bar at the top of the page.
Your products need tags that match your answers. See Set up answers and tags and Choose which products it recommends.
Publish it
- Select Publish at the top of the editor.
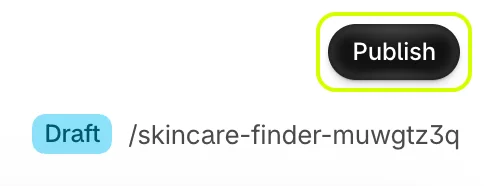
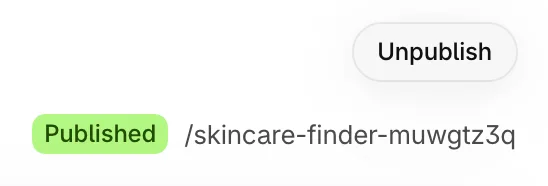
The badge changes to Published, and Publish becomes Unpublish. You can keep editing a published quiz; shoppers see your changes once you save.
Choose where it shows
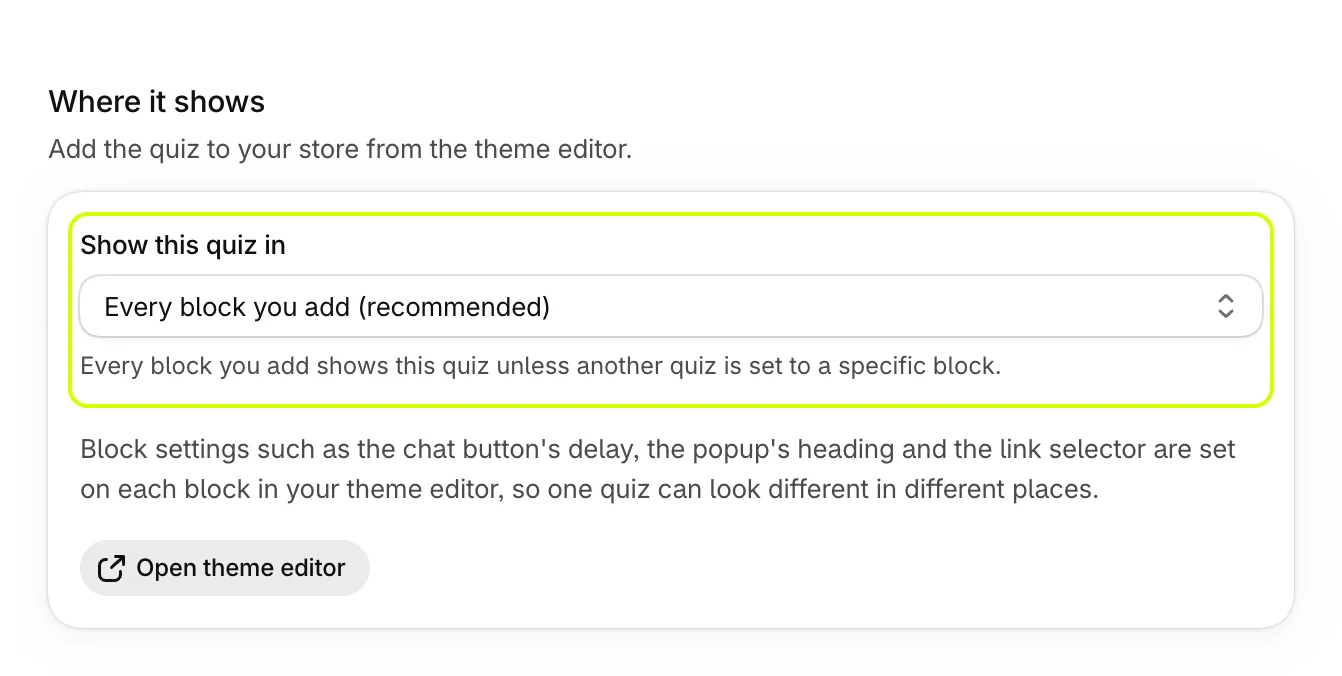
Templates start out showing in an inline block only. For a first quiz, let it show in any block you add.
- Select Settings.
- Set Show this quiz in to Every block you add (recommended), then select Save.
Add it to a page of its own
The Quizz Dedicated Page block gives the quiz a page with its own address, which you can link from your menu, ads and emails. It's part of every plan.
- In your Shopify admin, open Online Store > Pages and add a page, such as Skin quiz. Save it.
- Open Online Store > Themes and select Customize. Switch to your new page, and create a template for it so the quiz shows on this page only.
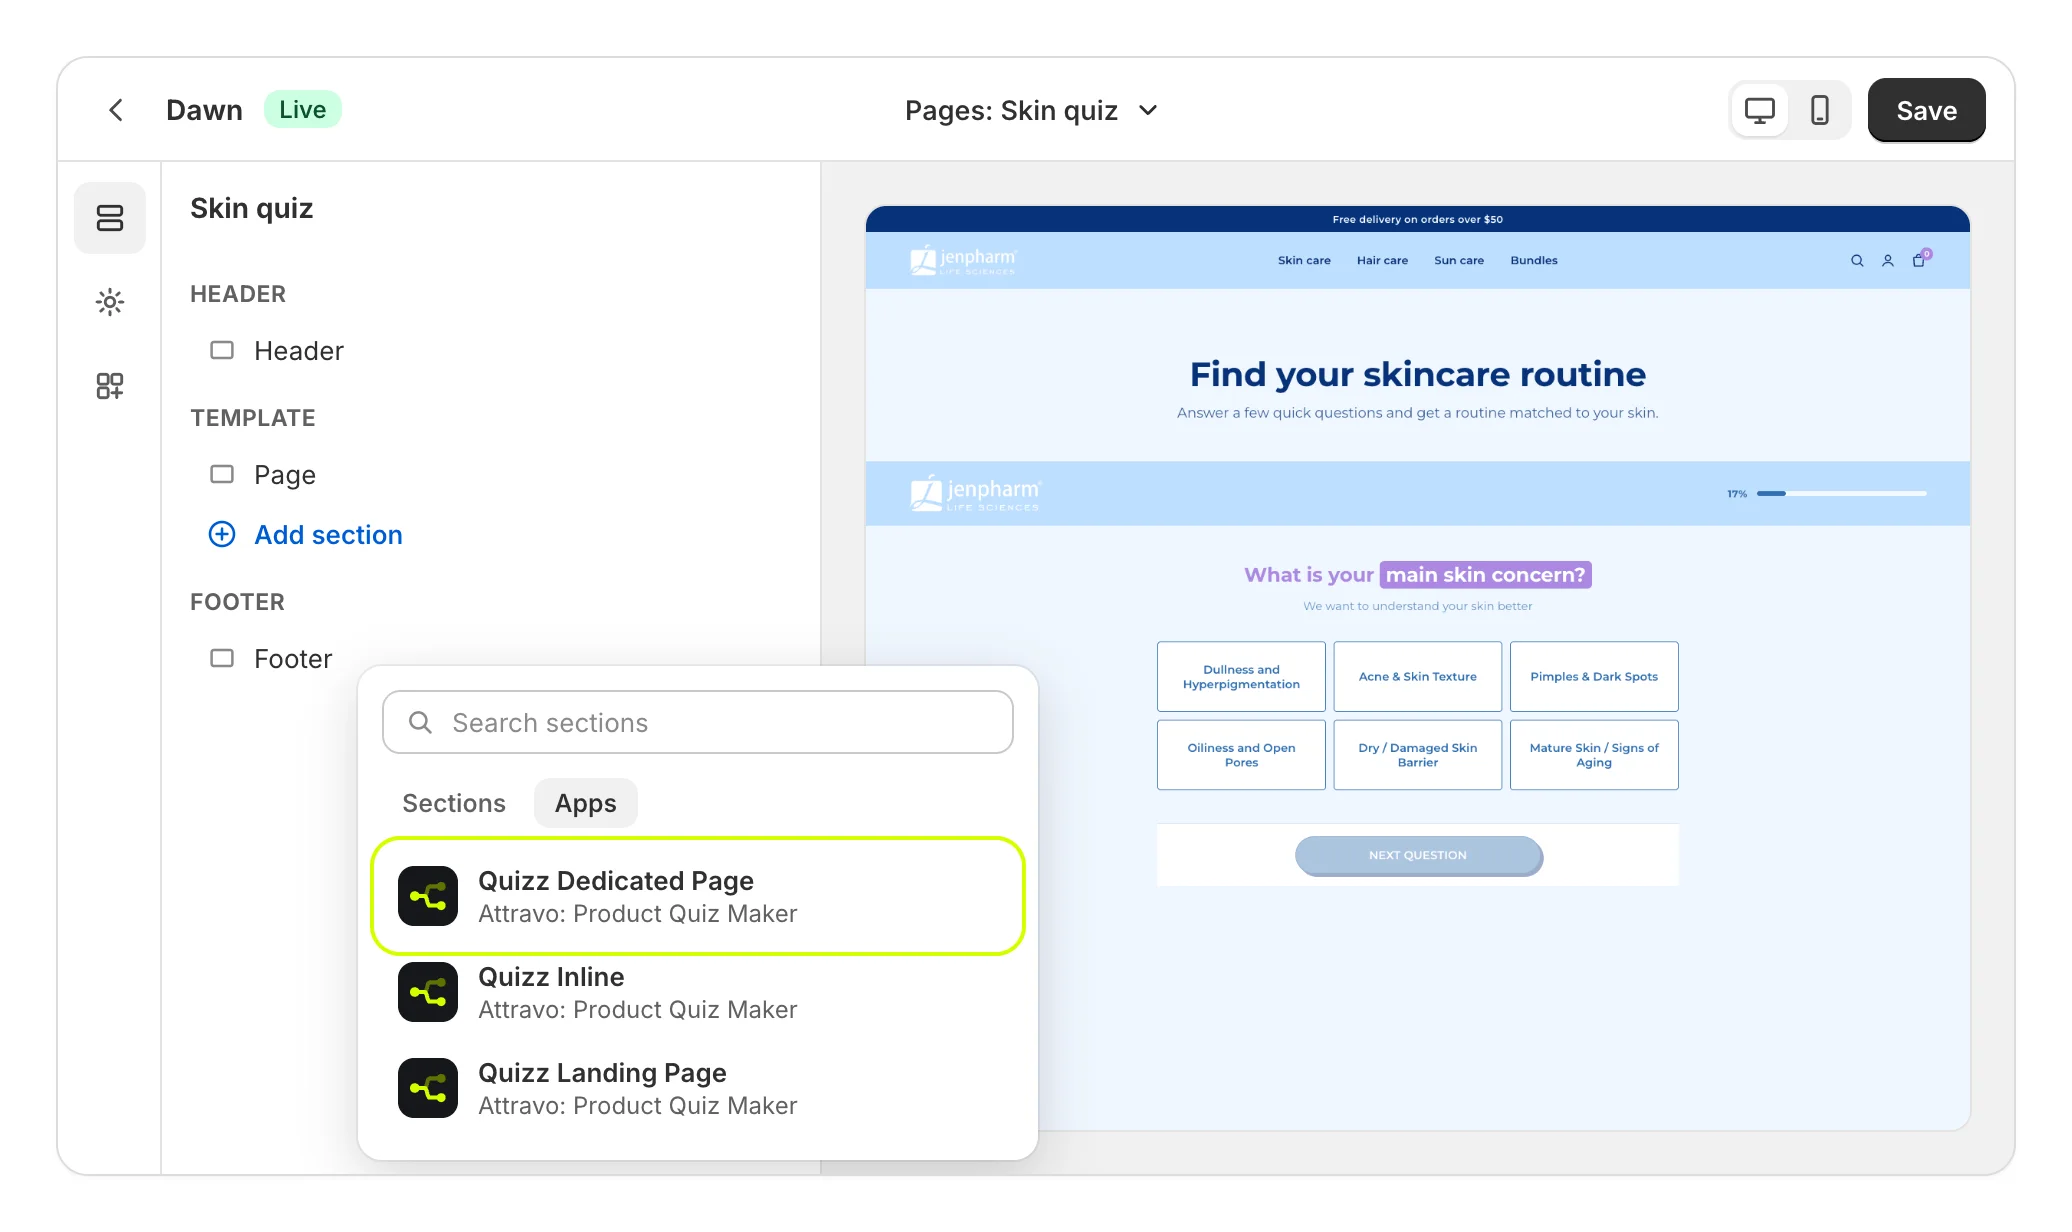
- Select Add section, open Apps and choose Quizz Dedicated Page.
- Leave Quiz handle blank to show this quiz, or paste the quiz's handle from its Settings to pick it by name. Select Save.
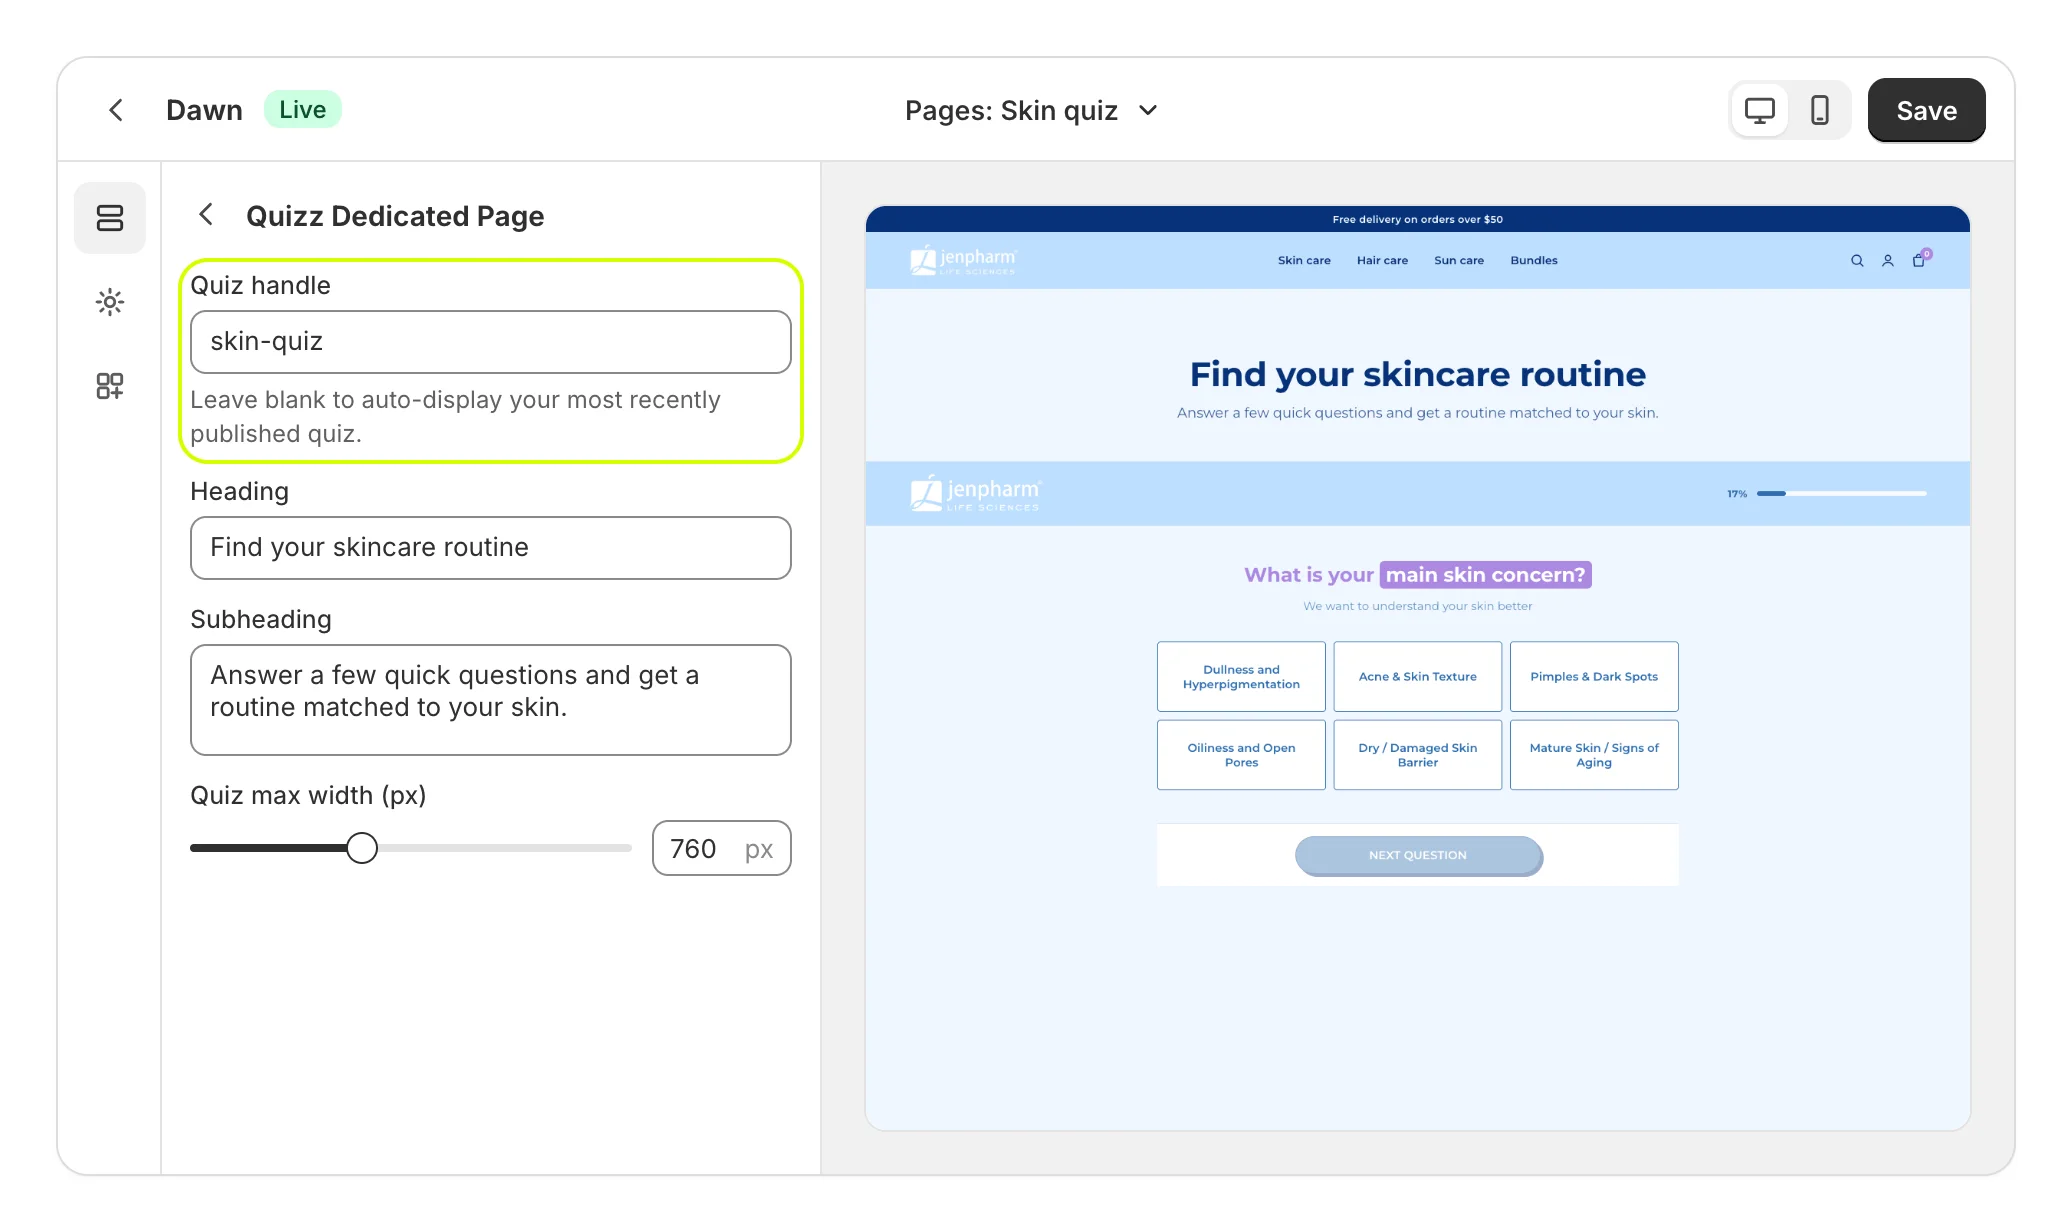
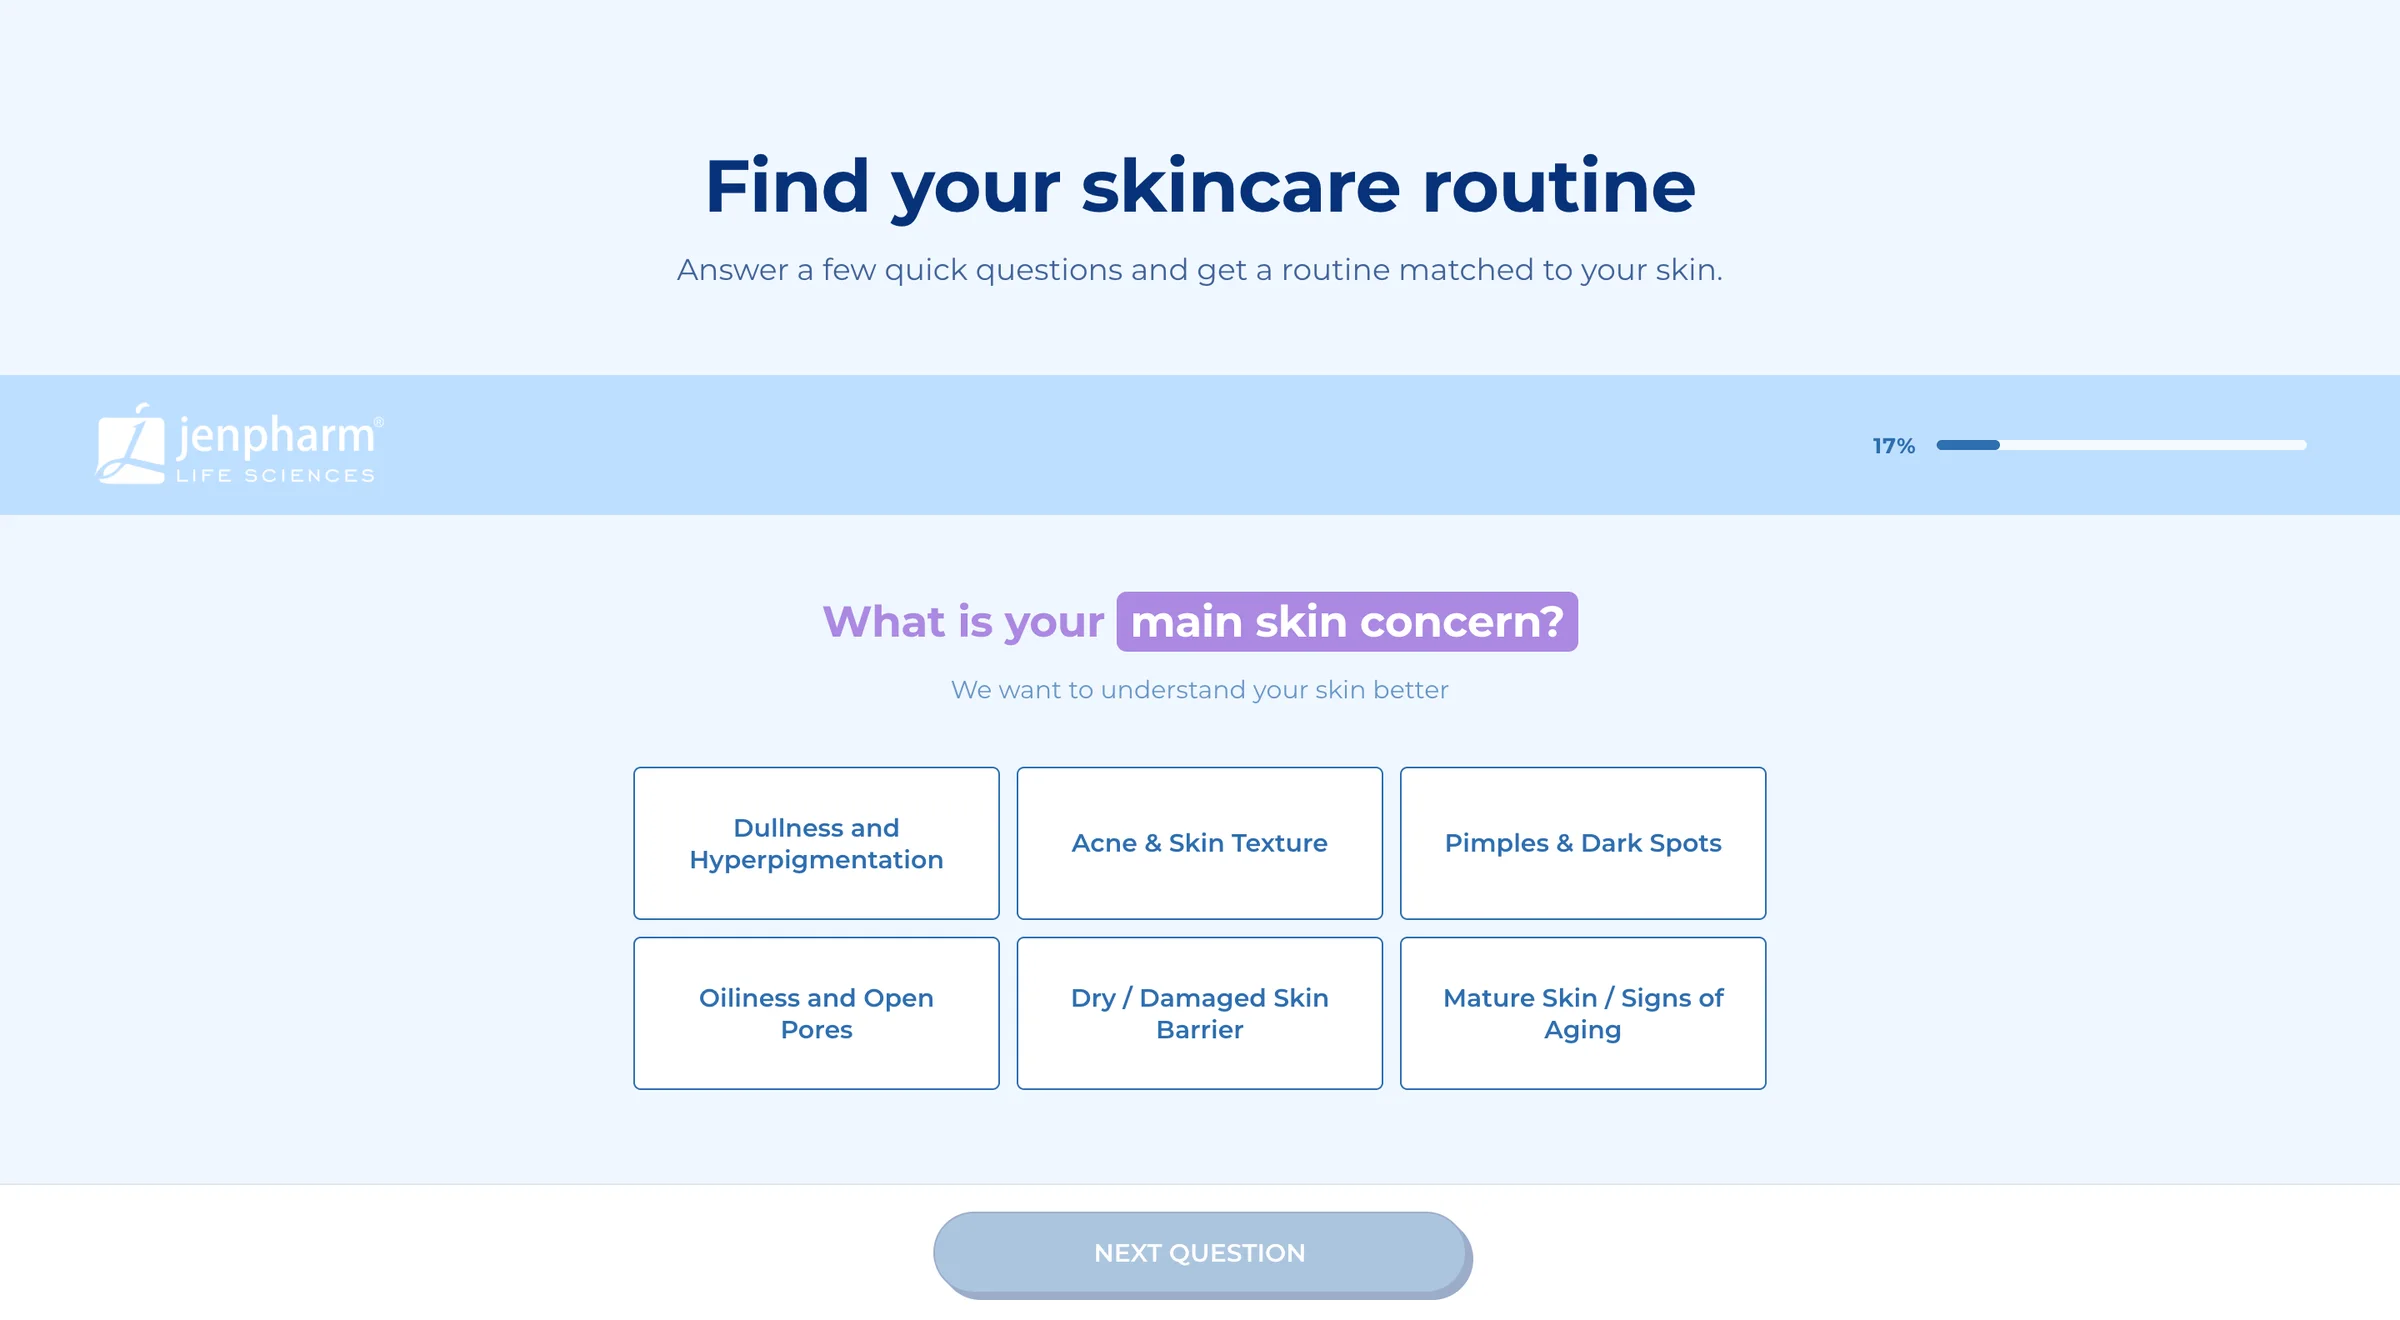
Your page now shows the quiz, under the block's heading.
The other ways to show a quiz, such as inside a page or from a chat button, are in Choose where each quiz shows.
Check it
Take the quiz yourself on your store, the way a shopper would. Your answers count in Analytics, and the email you enter appears in Leads. To start again at any point, select Start over.
Was this helpful?
More in Getting started
- Install Product Quiz MakerInstall Product Quiz Maker from the Shopify App Store and find your way around the app.
- Finish the setup guideWork through the six steps on Home until your quiz is live, tracking sales and collecting leads.
- Turn on the Quizz Core Script app embedSwitch on the app embed that loads your quizzes everywhere, and check it from Home.